The slippage tolerance field is the one part of this topic most people actually interact with, and it is widely misread as a way to reduce slippage. It is not. It is a limit on how bad a result you will accept, and understanding that distinction changes how you should set it. The broader context is in what is slippage in crypto.
What the setting actually controls
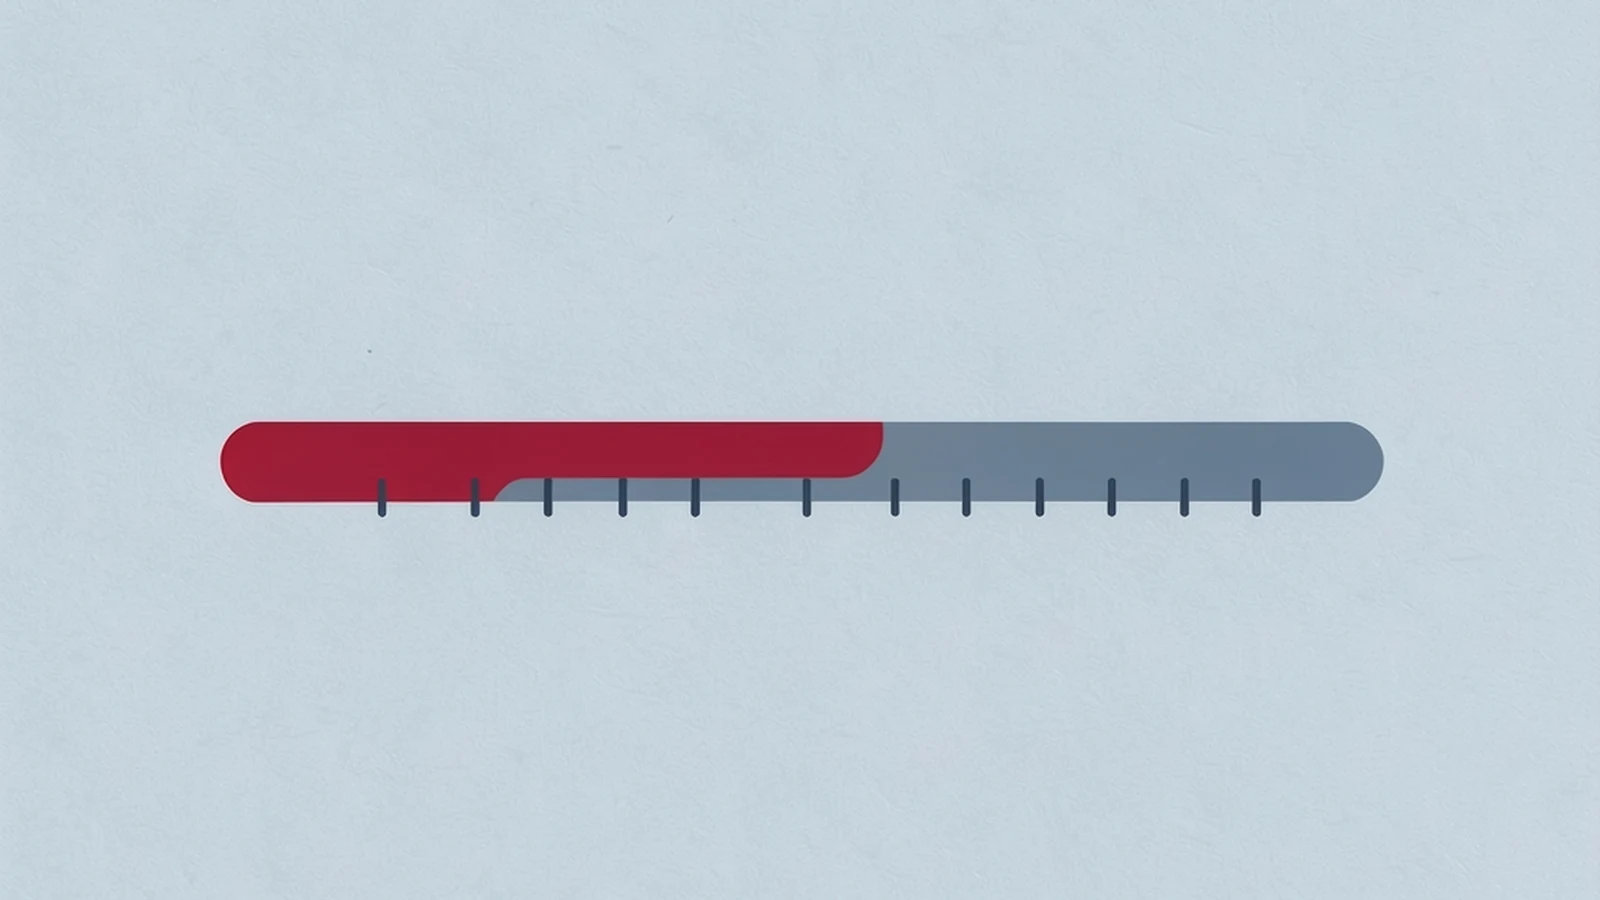
Tolerance defines a band around the quoted price. If your trade would execute inside that band, it fills. If it would execute outside, it does not. That is the entire function — it is a conditional on execution, not an instruction to the market.
Concretely, a 1% tolerance on a quote of 500 tokens out means the transaction is only valid if it delivers at least 495. If conditions at execution time would deliver 490, the transaction fails rather than delivering 490. Nothing about setting 1% made the market give you a better rate; it only defined the point at which you would rather have nothing.
What happens when a trade exceeds it
On a centralized platform, a market order that exceeds tolerance is typically rejected before anything is charged. On-chain the mechanics differ in a way worth knowing: the transaction is submitted, the network processes it, the smart contract checks the resulting amount against your minimum, finds it short, and reverts. The trade does not happen — but the network still did work, so the gas fee is generally still charged. This is why reflexively resubmitting a failing trade with slightly higher tolerance each time can quietly cost real money in fees for trades that never executed.
How to choose a starting value
Interface defaults commonly sit around 0.5% for liquid pairs, adjusted upward only where liquidity is genuinely thin. That is a reasonable place to start, but the more useful framing is to treat the number as a question rather than a setting: what is the worst fill I would still accept for this specific trade?
For a large, liquid pair in calm conditions, a tight band should execute without trouble, and a failure is meaningful information. For a small, thinly traded asset, a tight band may fail repeatedly — and that failure is telling you something real about the market you are about to trade into, which is worth hearing before you widen the band to silence it.
Why “raise it until it works” is bad advice
The intuitive response to a failed trade is to increase tolerance until the trade succeeds. This works, in the narrow sense that the trade goes through. It is also the exact behaviour that makes a trade profitable to attack.
Because pending on-chain transactions are visible before confirmation, the tolerance you set is public information about how much room an automated bot has to move the price against you while keeping your transaction valid. Widening the band does not just accept more ordinary market noise — it publishes a larger budget. This is covered fully in sandwich attacks and slippage, and side-by-side arithmetic for different tolerance values is on the worked examples page.
Frequently asked questions
Does a higher tolerance make my trade fill faster?
It makes a trade more likely to fill at all, because fewer outcomes fall outside the acceptable band. It does not affect speed, and it does not improve the price you receive.
Am I charged when a swap reverts on slippage?
On-chain, generally yes u2014 the network processed the transaction before the contract rejected it, so the gas fee still applies even though no trade occurred.
Is there a single correct slippage tolerance?
No. The right value depends on the asset's liquidity, current conditions, and how bad a fill you would genuinely accept. Interface defaults around 0.5% are a starting point, not a rule.